Wednesday, February 27, 2013

In (On) with the New

Sunday, 02.24.2013:  New tires, tubes, and rim strips showed up over the weekend!  Now the real fun begins... wrestling with getting the old tires off and the new tires on.  Definitely time consuming and quite the workout, but the savings is incredible.  Honda of Cool Springs wanted over $120 to mount the new tires...  $80 if I took the wheels off and saved them that labor.  I figured I'd at least give it a shot and if I got fed up with it, I'd concede and pay the dealership's astronomical rates.  It was definitely no small feat, but I did ultimately get the old tires off of the rims.  I had a feeling there would be some significant rust that I was going to have to sand/polish out.  And there was.  Fortunately, my buddy, George, had a couple of different wire brush attachments that can be mounted to a drill, so I was able to save a considerable amount of time using these wire brushes.  Even with the wire brushes, I probably spent close to two hours per wheel getting them to a place where I felt comfortable mounting new tubes and tires.

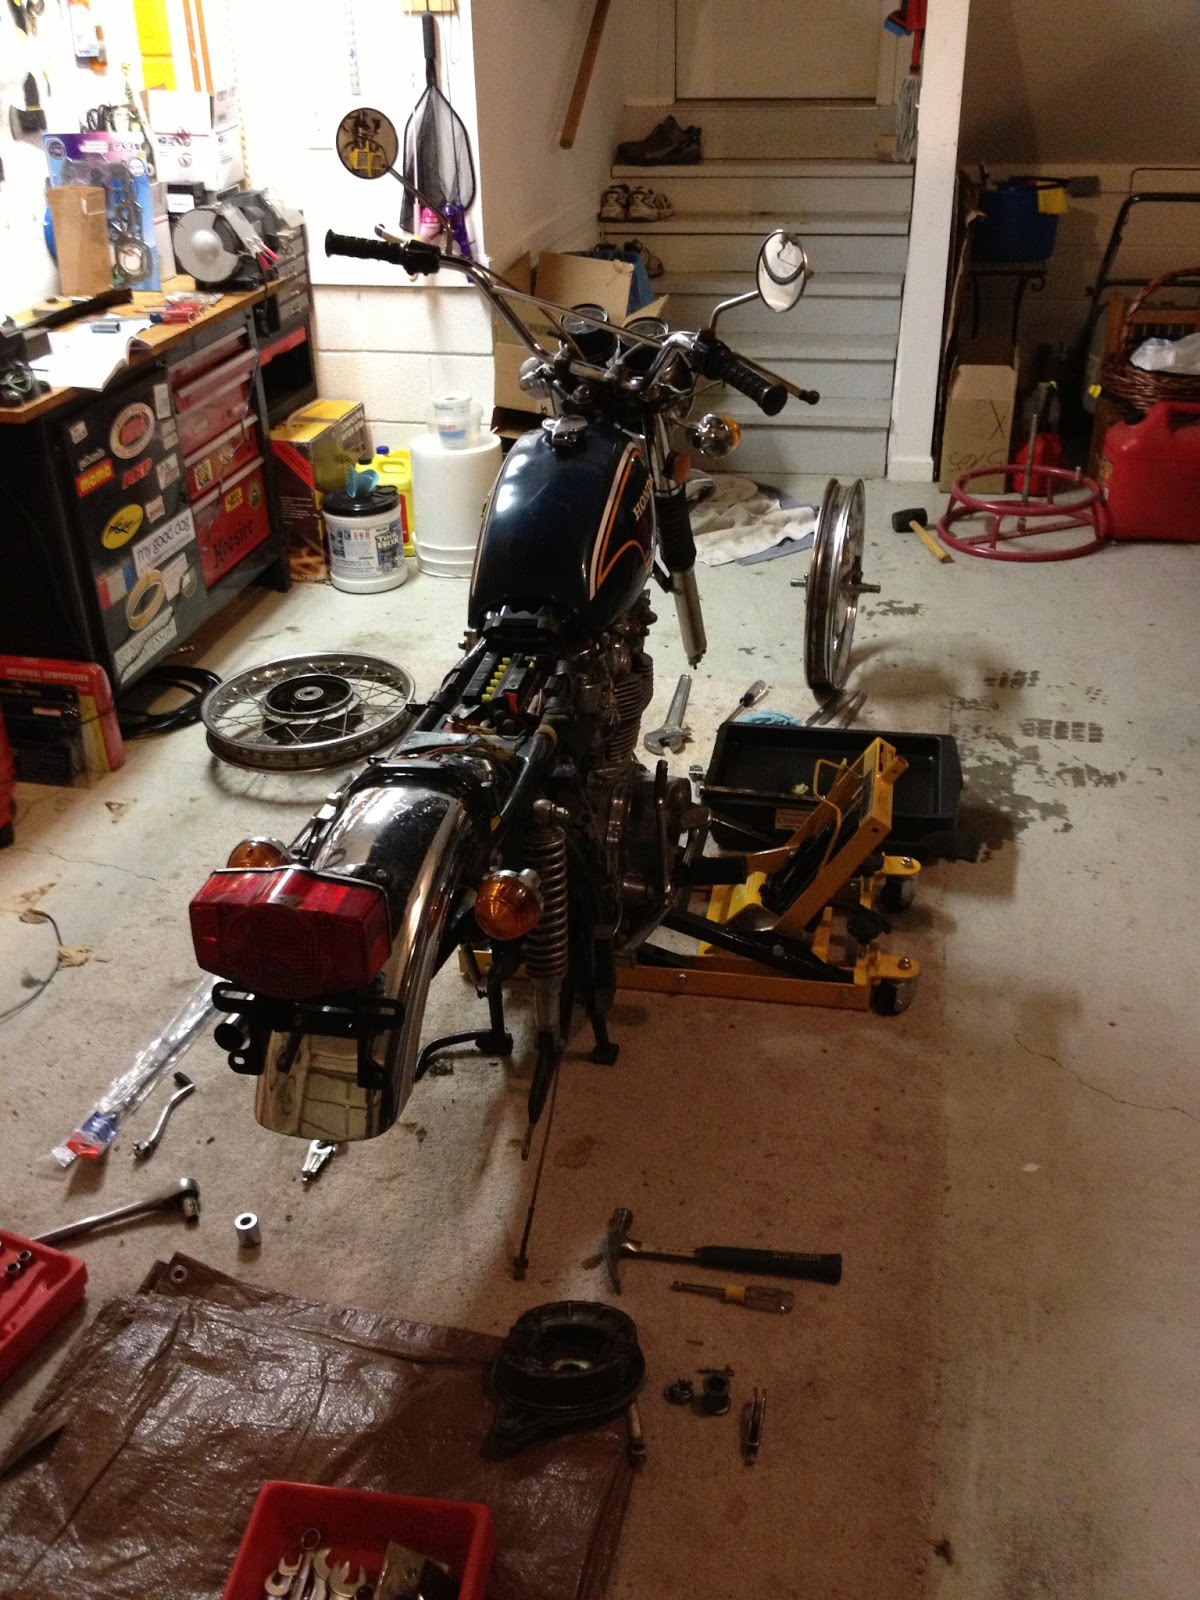
One of the other headaches with changing tires is removing the wheels.  Mainly the rear wheel.  This bike has an endless chain (as opposed to a chain with a "master" link that allows for easy removal).  And the rivets are smashed or mushroomed, so a chain breaking tool renders useless.  The only way the chain was coming off of this bike was to remove the rear swing arm and disconnect the left rear shock.  Sigh...

I don't mean to sound like I'm complaining, because while it added another 30 minutes worth of work, it was good practice and provided a greater understanding of how all of these parts go and work together.

A new chain (with a master link) is definitely going to go on this bike down the road, but the existing one appears to be in good enough shape that I can get away with running it for another or so - after I've paid for a couple of other things like a helmet (I gave my old helmet away to my friend, Eric, in AZ years ago because I didn't think I'd ever own another motorcycle after CO.), registration fees, etc.

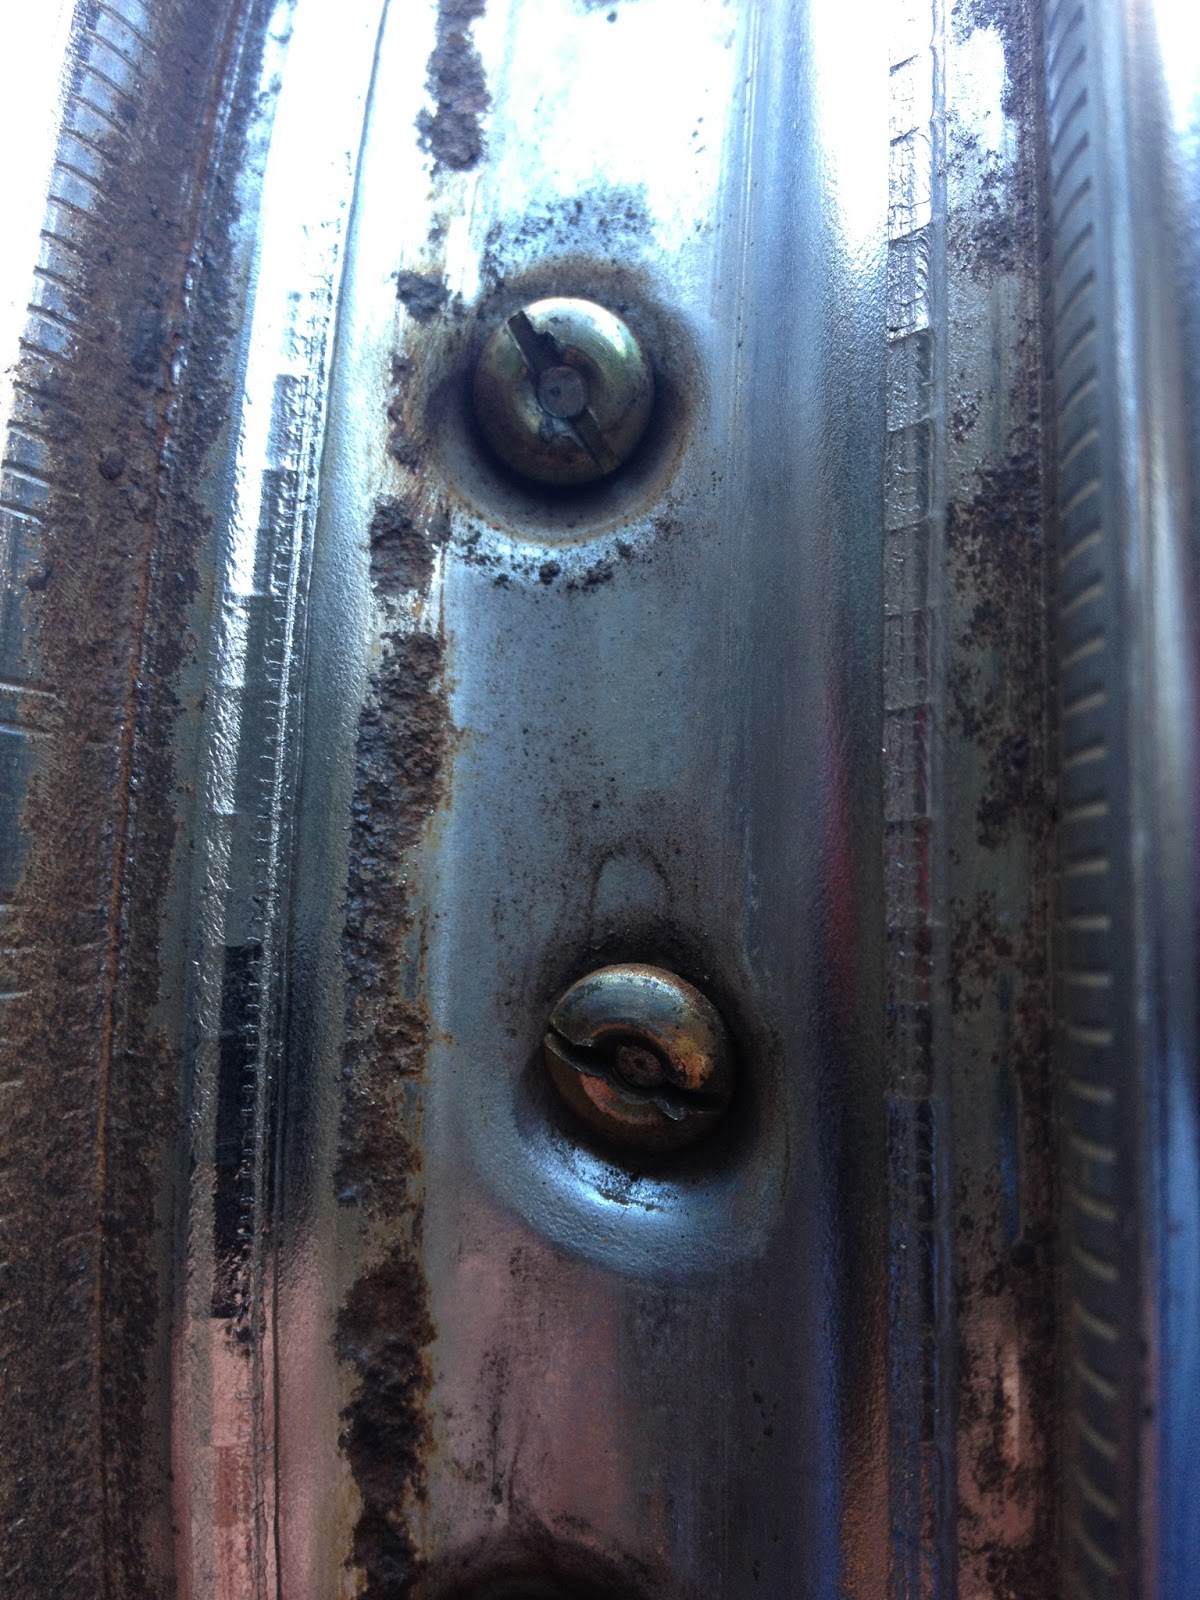
Here are a few pics of the wheels and drive chain off of the bike, brakes and wheels after some cleaning up, and the rims during the rust removal:


And here are some pics of the new tires just after being delivered and then the rear tire after being mounted:


Out (Off) with the Old

Friday, 02.22.2013:  Spring is right around the corner and that means great riding weather.  I've been tracking my restoration costs to the penny and have been draining my "motorcycle account" pretty much within a day or two of my funds being replenished.  Fortunately I set out on this adventure/project with a budget because I can see where one could easily piss away thousands and thousands of dollars "restoring" a bike.  That being said, one of the last necessary items needed to be able to take the CL450 for a spin was new rim strips, inner tubes, and tires.  The old tires were dry rotted and the front inner tube wouldn't even hold air.  In order to get this thing on the road by mid-march, I needed to sell some stuff.  Enter Craigslist.org.  I had bought a 55 lb thrust trolling motor and battery box for our canoe a little over a year ago and sadly never got around to buying a battery and putting the thing to use, so I listed both items and within a day or so, got a call and an offer which I gladly accepted.  This "garage sale" just became my "new tires" fund!

Here are a few pics of the old tires and the rims before being replaced and the rims being sanded with a wire brush drill attachment:


Saturday, February 9, 2013

Setting Point Gaps and Ignition Timing

Point gaps and ignition timing are proving to be trickier than I thought they'd be...  I won't bore you with all the details (like loosening the contact plate screws and turning the entire plate clockwise or counterclockwise to advance or retard ignition timing. Along with turning the alternator crank counterclockwise to get left and right contact points to both open to their widest gaps. And then there's getting the LF and LT marks on the rotor to line up with the index pointer to set the timing of the left piston/cylinder. And the then doing the same for the right cylinder - marked with just an L and T, and so on...).  What I did learn through this process is that when in doubt, buy new points!  In fact, the USPS (in what may be one of their final Saturday deliveries) should be delivering my new points today.  So, that will give me something to do until my broken tachometer, speedo, front brake, and clutch cables get here.  But, I digress...

Getting back to statically setting the ignition timing, I'm finding that it's part art/part science.  I'm hoping these new points make the process a little easier.  Here are a few pics of all of the stripped out screws I had to Dremel to get out and replace.  Along with the contact breaker points, spark advance unit, and alternator.  When I first opened the points and alternator covers, I had no idea what I was staring at.  I read and re-read about a dozen different write-ups about what they do and how to set them and the ignition timing, but it was all greek to me.  After trying my hand at setting the point gaps and timing (using a 12v test light), going back and reading some of the write-ups actually made perfect sense!  I love it when I learn something new.


Saturday, February 2, 2013

It's Alive!

Thursday, 01.31.13:  Changed out the spark plugs with brand new NGK B8ES plugs. (Note to self - there are three different styles of spark plug terminal caps: Solid, Loose, and Stud.  Loose plugs have a threaded cap that makes them look like solid terminals, but can be screwed off to expose the stud so they can be used on low impedance spark plug wires.)  The terminal caps were a bear to get off, but after putting them in a vice and using a pair of pliers, I was able to finally unscrew them.  I was short on time, but for grins, I thought I'd try starting up the bike.  I had adjusted the contact point gaps the previous weekend and thought that maybe I could get away with using the old plugs.  They fired sparks after all.  And all of the struggle and confusion with getting the terminal caps off of the new plugs had me thinking I had the wrong ones.

Spark plug terminal caps off!


Here's some video of the bike coming to life:


Friday, 02.01.13:  Tried adjusting/syncing the carbs... To no avail.  Checked the plugs and they are black/covered in carbon.  Also noticed quite a bit of white smoke coming out of my crankcase breather hose, so it sounds like it's running rich.  Am going to set the ignition timing sometime this next week and then give adjusting the carbs another shot.