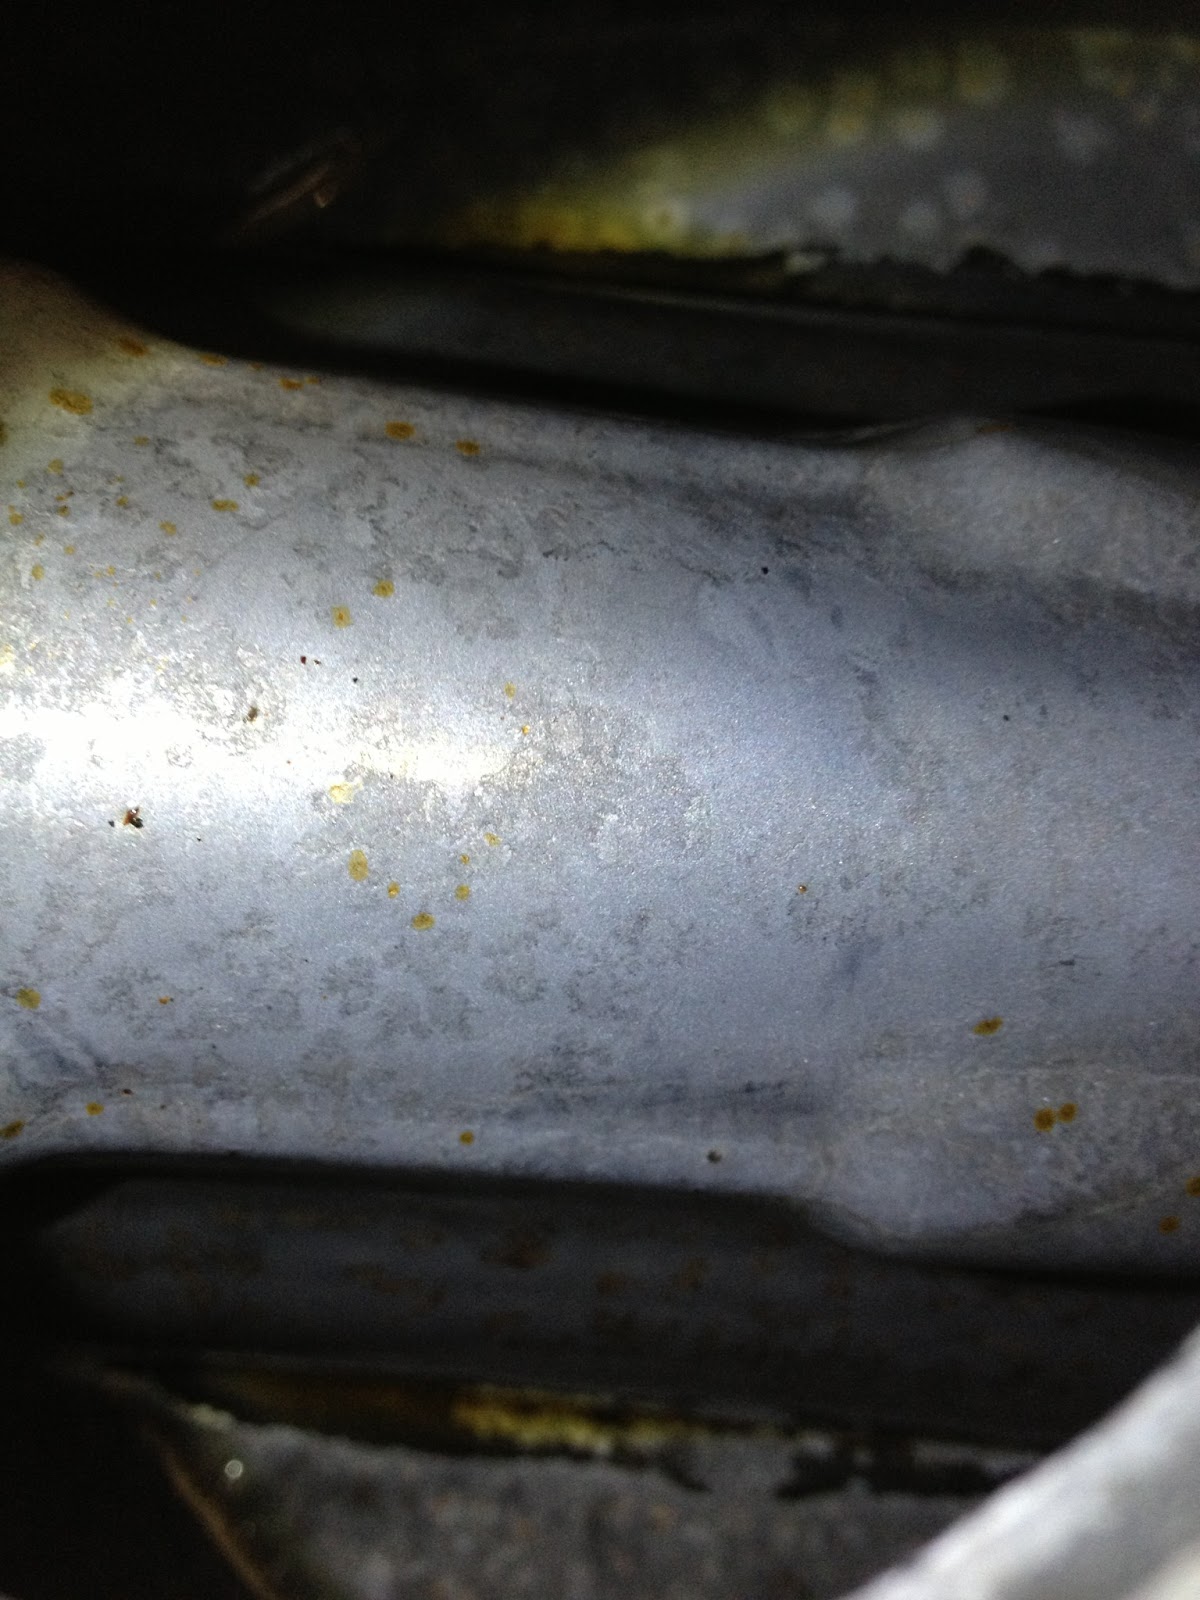
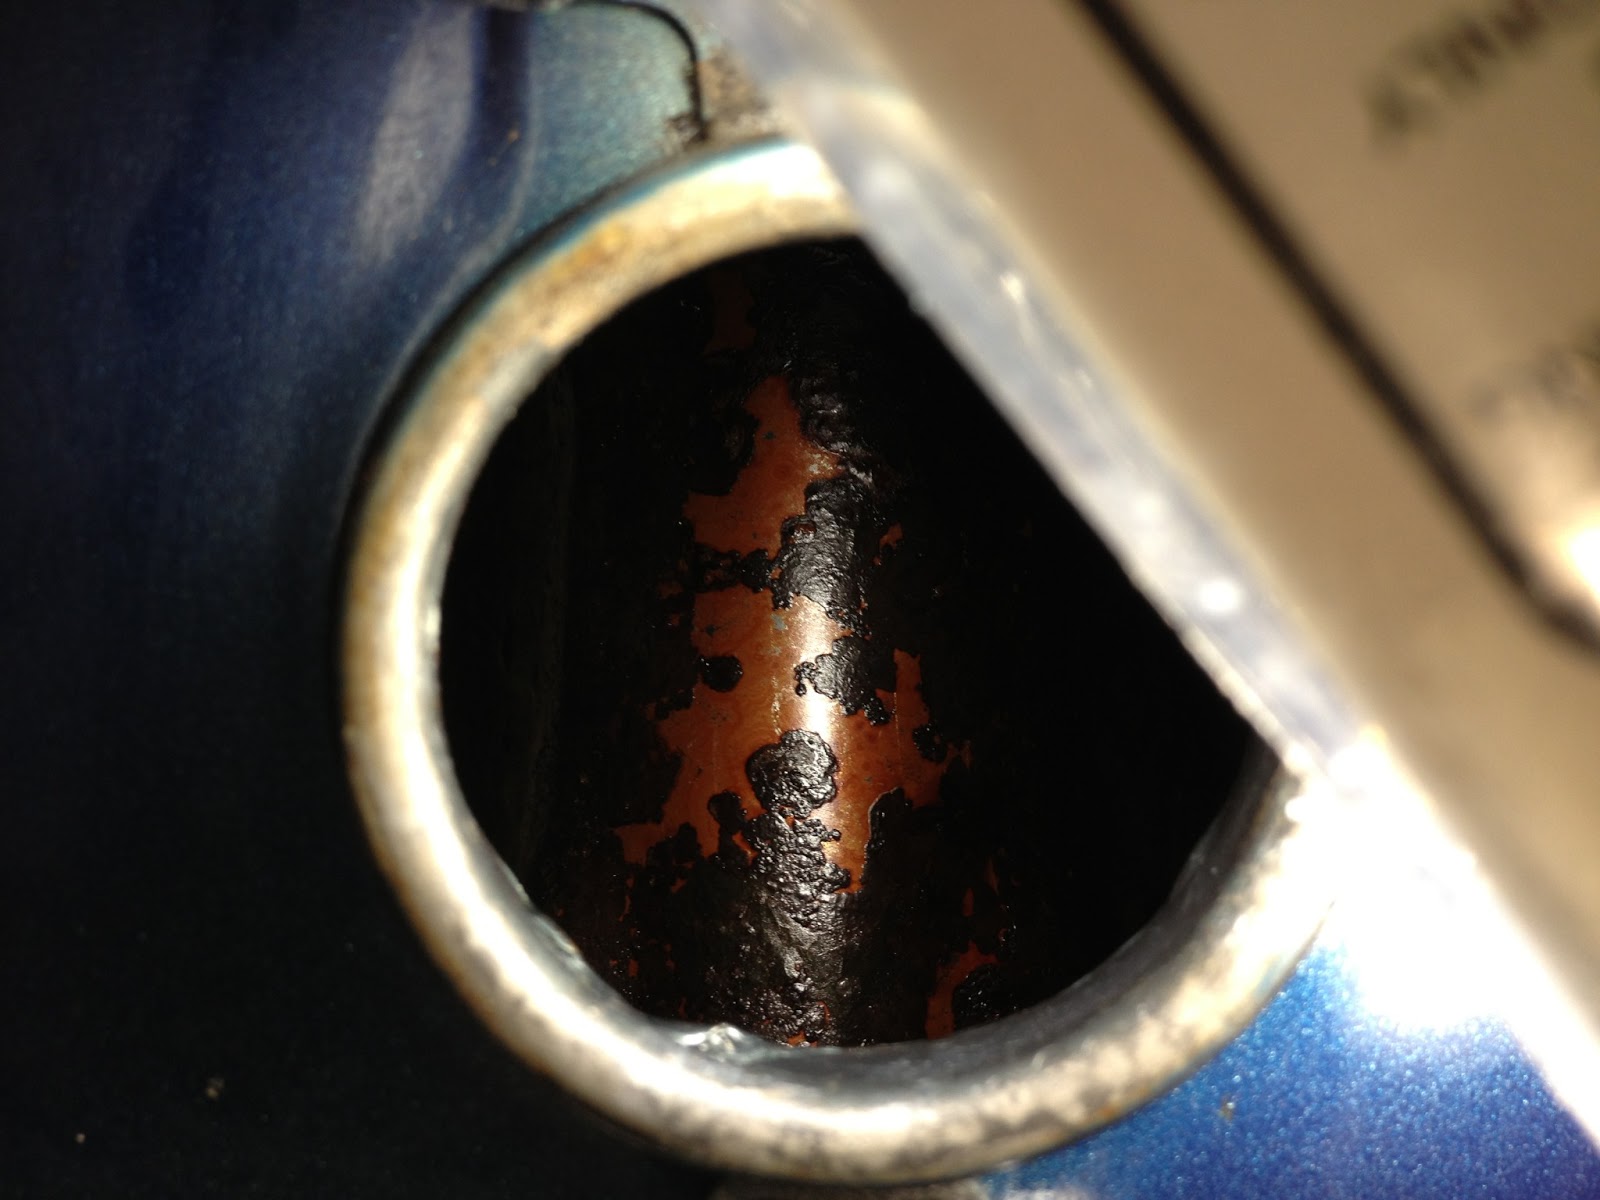
I've done a bit of research on stripping powdercoated paint, and in order to save some money, I'm going to just sand this down by hand and dremel tool. This should get most of the rust off. And then I'll just use some black rustoleum spray paint as a temporary fix since the battery box will be hidden by the side covers and seat anyway. Down the road, I hope to save up enough to have the frame glass or bead blasted and powdercoated. I also hope to have the fenders re-chromed. I'm shooting to do this next winter (Dec 13 - Jan 14 time frame). Right now I'm just crossing my fingers that this puppy will fire up!
Monday, January 21, 2013
Pulling Stuff Off of the Frame...
In an attempt to clean up some of the rust and crud on the battery case, I disconnected a couple of things like a relay switch and the starter solenoid. I also had to take off a couple of other parts like the toolkit holder. Without a welding torch (and some extensive training), I'll likely have to leave the OEM air filter connector tube welded to the bottom of the battery case. Not a huge deal since it will be covered up with aftermarket Uni foam air filters and the original side covers. I considered buying some tapered K&N filters or even some shorty velocity stacks, but didn't want to get into having to tune these Keihin carbs (at least not until I can make sure that I can get the bike running).
Wednesday, January 16, 2013
Fuel Tank (Rust Removal - Part 2)
My second (free) batch of MetalRescue arrived at my doorstep just after the holidays. I finally got around to giving my fuel tank another soak. I even took a hairdryer and warmed up the MetalRescue in an attempt to shorten the soak time. I was even able to get the fuel cap vent out of the cap and let it soak for a few hours before I put a new rubber seal/gasket on it. All that to say, I think this may be as good as it's going to get. I sprayed the inside of the tank with WD-40 Long Term Rust Inhibitor since the tank will be sitting in my garage for the next couple of weeks. I bought a couple of "retro" chrome and glass inline fuel filters to run between the fuel petcock and the carbs, so they should catch any rust (or other particulates) that the MetalRescue might have missed.
Tuesday, January 15, 2013
Carb Gasket Kits
Saturday, 01.12.2013: Got a bunch of parts in the mail this weekend from Dime City Cycles and Old Bike Barn (I've been relying mainly on Dime City because they specialize in Honda CBs.) One (or two) of those parts were my Keihin 14H gasket and o-ring kits. Happily replaced my gaskets and o-rings (where applicable) and sealed them back up. I'm still on the fence about soda blasting...
Carb Cleaning
Saturday, 01.05.2013: Couldn't sleep; so I decided to get up and start working on pulling the carburetors off of the CL. Because of the high exhaust pipes, I wasn't able to to get the left side cover and air filter off, which meant first taking off the exhaust... This set me back about 15 minutes or so - not a big deal. After taking out the original paper air filters (no amount of compressed air and oil was going to be able to salvage them), disconnecting the throttle cable(s), loosening the carb intake boot clamps, and a couple of good wiggles and tugs, out came my Keihin 14H CV carbs.
All-in-all, they really weren't in too terrible of shape. I broke out the Berryman B-12 Chemtool and started disassembling, spraying, scrubbing and soaking both aluminum and brass pieces. I started with the left carb. Here are a few shots of the progression:
The air inlet screw was missing its o-ring and I think the previous owner may have put the spring and washer on in the wrong order the last time he cleaned them. Oh well. I used a very thin beading needle to clean out the jets and then some compressed air to blow anything that might still be lingering.
The right carb was a lot dirtier on both the outside and inside. Here are a few pics of the right and then both left and right after they had been cleaned:
Still a bit of rust on the choke butterfly. I ordered some Wash-Safe Rust Off through the mail. So when i get it, it should be a matter of just spraying it on and wiping it off with some paper towels after a minute or two. I'm also considering just sanding and then soda blasting the carbs and engine. The results look pretty decent from what I've seen on the interwebs and the setup cost is within my budget (maybe a total of $10 for a bucket of baking soda and a couple of feet of clear tubing) compared to taking this stuff somewhere and having it sand or bead blasted for an astronomical price. I'm willing to give it a little more elbow grease if it allows me to save some money for the remaining parts I need to order (clip-ons, grips, clutch, throttle, and brake cables to name a few).
All-in-all, they really weren't in too terrible of shape. I broke out the Berryman B-12 Chemtool and started disassembling, spraying, scrubbing and soaking both aluminum and brass pieces. I started with the left carb. Here are a few shots of the progression:
The air inlet screw was missing its o-ring and I think the previous owner may have put the spring and washer on in the wrong order the last time he cleaned them. Oh well. I used a very thin beading needle to clean out the jets and then some compressed air to blow anything that might still be lingering.
The right carb was a lot dirtier on both the outside and inside. Here are a few pics of the right and then both left and right after they had been cleaned:
Still a bit of rust on the choke butterfly. I ordered some Wash-Safe Rust Off through the mail. So when i get it, it should be a matter of just spraying it on and wiping it off with some paper towels after a minute or two. I'm also considering just sanding and then soda blasting the carbs and engine. The results look pretty decent from what I've seen on the interwebs and the setup cost is within my budget (maybe a total of $10 for a bucket of baking soda and a couple of feet of clear tubing) compared to taking this stuff somewhere and having it sand or bead blasted for an astronomical price. I'm willing to give it a little more elbow grease if it allows me to save some money for the remaining parts I need to order (clip-ons, grips, clutch, throttle, and brake cables to name a few).
Tuesday, January 8, 2013
Fuel Tank (Rust Removal - Part 1)
Sunday, 12.16.2012: Powerwashed the inside of the fuel tank. Poured a handful of small BBs into the tank and shook it around vigorously to breakup any loose rust. Then I soaked the tank with MetalRescue for 24 hours rightside up (Sunday, 12.16 through Monday, 12.17).
Monday, 12.17.2012: Turned the tank upside down and soaked it for an additional 24 hours (Monday, 12.17 through Tuesday, 12.18). I covered the gas tank filler hole with cling wrap and rubber bands to avoid leaking out any MetalRescue. The fuel cap's rubber gasket is badly in need of being replaced.
Before #1
Before #2
After Pressurewash (Hot Water and Dawn)
Tuesday, 12.18.2012: Emptied fuel tank after 48 hours soak time. Disappointed with the results... Still a considerable amount of rust inside of tank - along with small chunks of rust. I powerwashed the inside of the tank again in an attempt to flush out any residual rust and then poured some rubbing alcohol into the tank and shook it around to dry up any remaining water. I also used an air compressor and a hair dryer to finish it off.
MetalRescue #1
MetalRescue #2
MetalRescue #3
MetalRescue #4
MetalRescue #5
Once the tank dried, I removed the fuel petcock to find that the everything had pretty much disintegrated or was badly corroded. I disassembled the petcock to inspect all parts. The screen filter was missing and all of the rubber gaskets were hard.
Wednesday, 12.19.2012: Ordered an OEM replacement from Out West Motorcycles in Tigard, OR for $30 (including shipping).
Thursday, 12.20.2012: Sent an email to MetalRescue, along with before and after photos. They are sending free MetalRescue for me to use in a second soak.
Washed
Cleaned the entire motorcycle on Sunday, 12.16.2012. It took me nearly 6 hours until it was all said and done. I sprayed down all aluminum/metal parts and the frame with WD-40 to loosen up any oil-based dirt and grime. Followed that up with a citrus degreaser and then powerwashed and scrubbed everything with a parts brush and Dawn dish detergent.
I removed the fuel tank and then powerwashed the inside with hot soapy water (I ran a hose from the hot water heater in my garage to the pressure washer). I dumped a handful of small BBs into the tank and shook it around vigorously. I rinsed out the tank again and then filled and soaked the inside with MetalRescue.
Here are some before and after pics from the wash:


I removed the fuel tank and then powerwashed the inside with hot soapy water (I ran a hose from the hot water heater in my garage to the pressure washer). I dumped a handful of small BBs into the tank and shook it around vigorously. I rinsed out the tank again and then filled and soaked the inside with MetalRescue.
Here are some before and after pics from the wash:
Subscribe to:
Posts (Atom)